How to take a photo for your application with Photo Aid
NOTE: Please read this document in its entirety before beginning the process.
Photo Aid is an application you can download to your mobile phone that will allow you to take a perfect picture for any of the official documents, such as Passport, USCIS photos, Visas, Work Authorization Cards (EAD), etc.
Besides getting the perfect photo, you will save time and money, since you won´t have to look for a location to take the pictures and pay more money for that in person service. Also, you will be able
to download the photos and choose the option of sending them directly to our office by email, or having them printed and shipped to our office.
If you have a mobile phone with Android, you can download the app here:
https://play.google.com/store/apps/details?id=online.passportphoto.visa.id.app
If you have an iPhone, you can download the app here:
https://apps.apple.com/app/apple-store/id1500544448?l=en-us
Once the app is installed, follow the steps below.
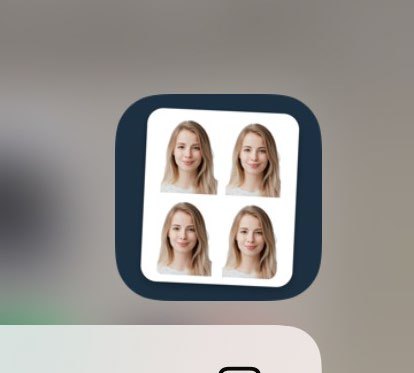
The app icon looks like this:
STEP 1
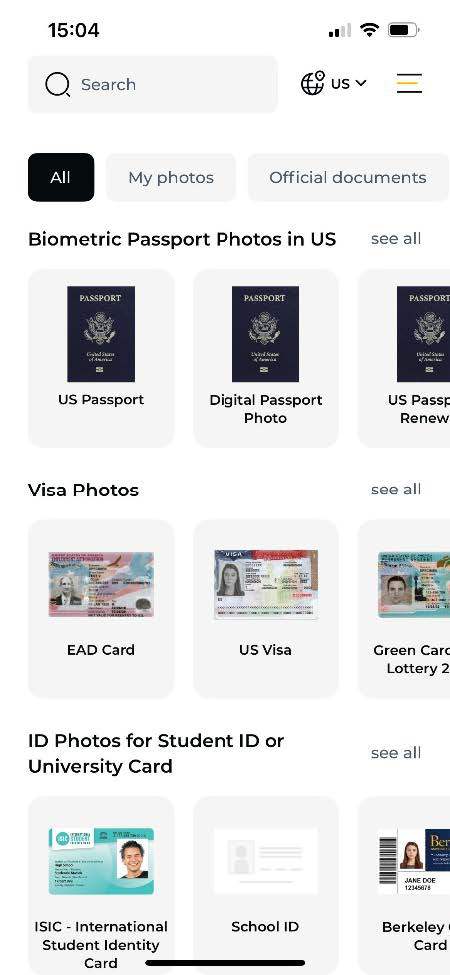
The first step is choosing the type of photo you´d like, bearing in mind which specific documents you are going to need that picture for.
For example, you may choose a U.S. passport, EAD Card (Work Authorization Card), Visa, etc.
STEP 2
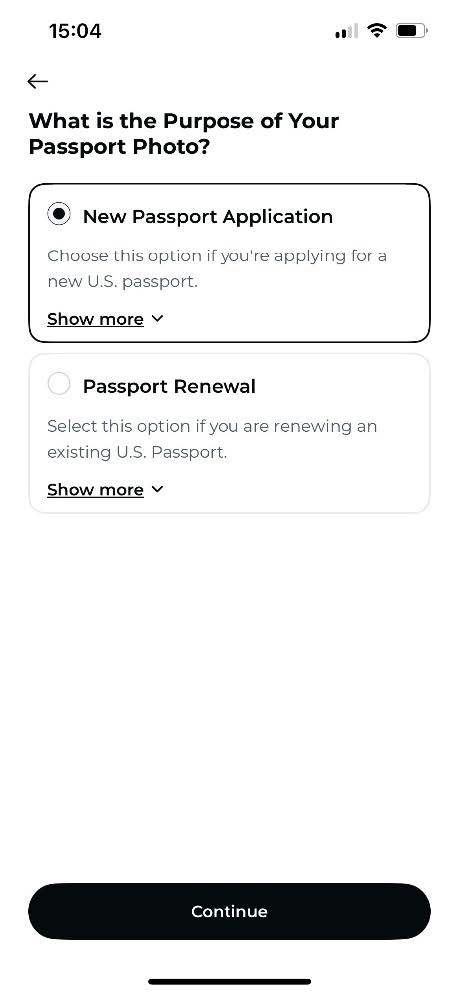
As an example, we have chosen to take a picture of a US Passport.
Then, select the option “Take Picture.” Take the photo with natural light and, if possible, use a tripod or have someone take the picture for you (selfies are not acceptable).
If you already have a picture stored in your phone, select the option “Upload from gallery” and upload the desired picture.
STEP 3
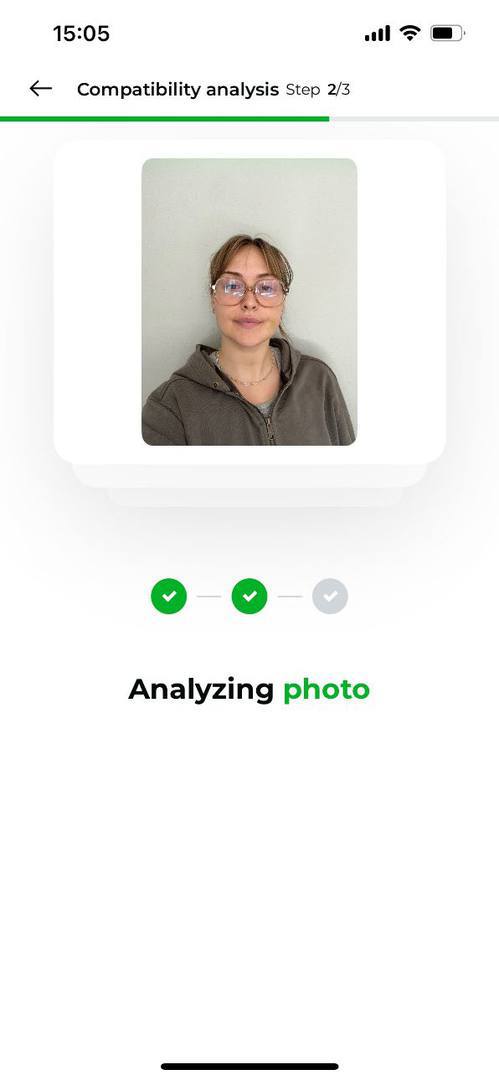
The app will take a few seconds to analyze the photo, and will then, if the photo is acceptable, show you the Checkout screen in the next step.
If it’s unacceptable, you will have to retake the photo or upload a new photo.
STEP 4
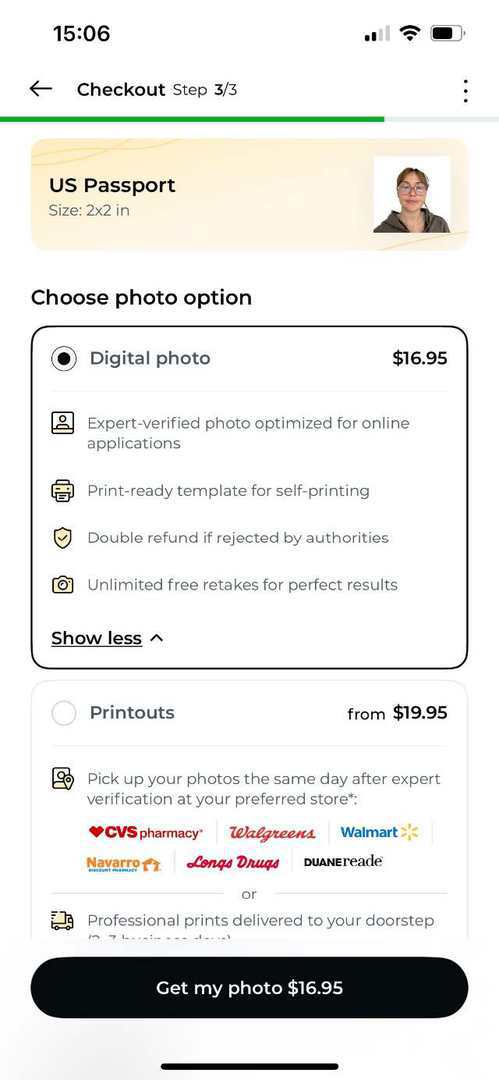
Select "Digital photo."
STEP 4
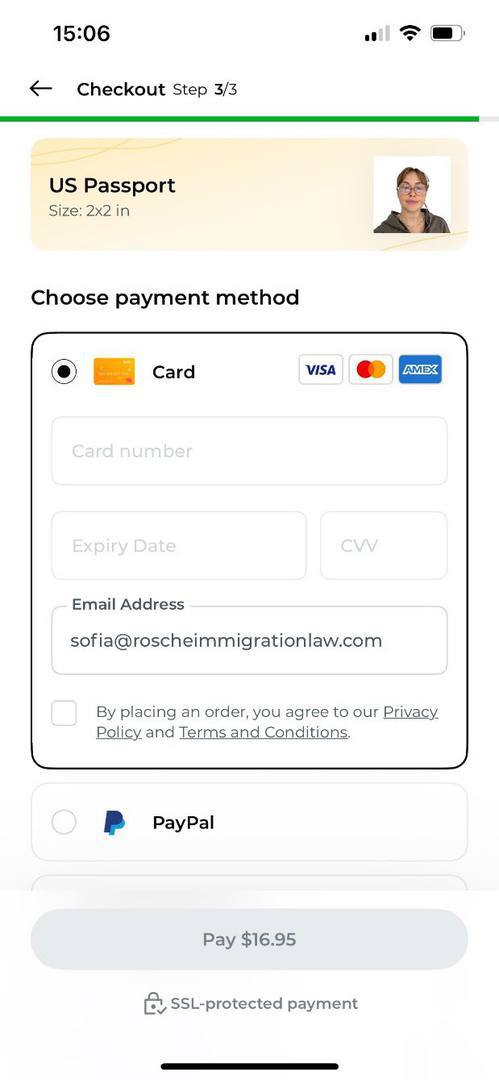
Input payment information.
NOTE: Please read Step 6 before completing this step.
STEP 6
After paying, you will be prompted to input the email address to which you’d like the photo to be sent. We recommend inputting Danielle’s email (danielle@roscheimmigrationlaw.com) as well as downloading copies to your personal files.
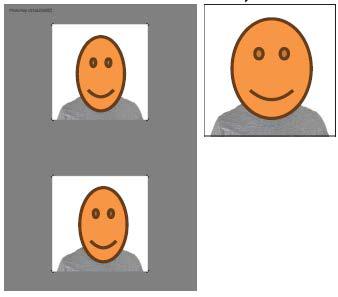
With these digital copies, we will be able to print off the perfect photos for your application. Please keep in mind that if you send us photos to print, you will be charged a small fee for the cost
of printing. If you prefer to avoid this fee, you can return to Step 4 and select “Print outs" to be mailed to our office.
CONGRATULATIONS! You did it.
 Print
Print 